January 30, 2015

Emboss Resist Water Colours- CFC 136

Hi all. Hope you have had fun with the first challenge from Cas-ual Fridays, 2015. You will surely love this challenge as well :-)
 
This month's challenge requires you to make a card using Water Colours. Simple and exciting. Got your colour palletes up already?  Below is my take on the challenge.
 

I had used emboss resist water colour technique for this card. First I have heat embossed these lovely flowers, from Loving thoughts Stamp set, in white. Then I went over these flowers with the brilliant blue and pink colours. I love how these heat emboss resists water colours. The sentiment is stamped to the other corner to balance the card. I then sprinkled some water colour over the sentiment, very mildly. 

A very simple card with just water colours and a single stamp set. Below is the link to this gorgeous stamp set, that I have used to make this card completely.

Click on the challenge graphic below to join the fun this Lovely Month. 


Thanks for stopping by. Hope you liked my card.
Ta- Ta
post signature

January 28, 2015

Orange blossom - Anniversary.

Hey, it's time I catch up with RIC # 76 challenge this fortnight. Below is my take on the challenge


The colours on this card and the entire scene is inspired from the outfit in the inspiration image below. I loved these bright colour. Perhaps I needed these bright colours to treat my eyes as all I see after the snowstorm is white and black in shades :-)


Another view at the card closely. I love the orange. Its mostly Orange Zest from PTI. and the rest are some copic markers. The trunk of the tree is painted with a bamboo skew, with dark chocolate PTI dye ink.


Hope you liked the card. Thanks for stopping by.
Ta-Ta
post signature

January 26, 2015

Easy Colour Swatch Tutorial

Hi all. Colour swatches are a must have for an artist. You do not want to pull out all the stamp pads and keep trying all the shades and tones of a colour, until you find the desired colour for your project. Labels on the stamp pads can be deceiving at times, as the actual ink on paper may actually turn out to be dark or lighter than the label on stamp pad. 

One way to get a colour swatch is to download and print those that the manufacturers sell. But again, you do not want to buy all the swatches from all the manufacturers, though you may own only half of all those colours. Also these colour swatches keep getting updated with time.

So I created by own colour swatch to address all the above issues. A simple but very functional cute little swatch.

Making the Colour Swatch


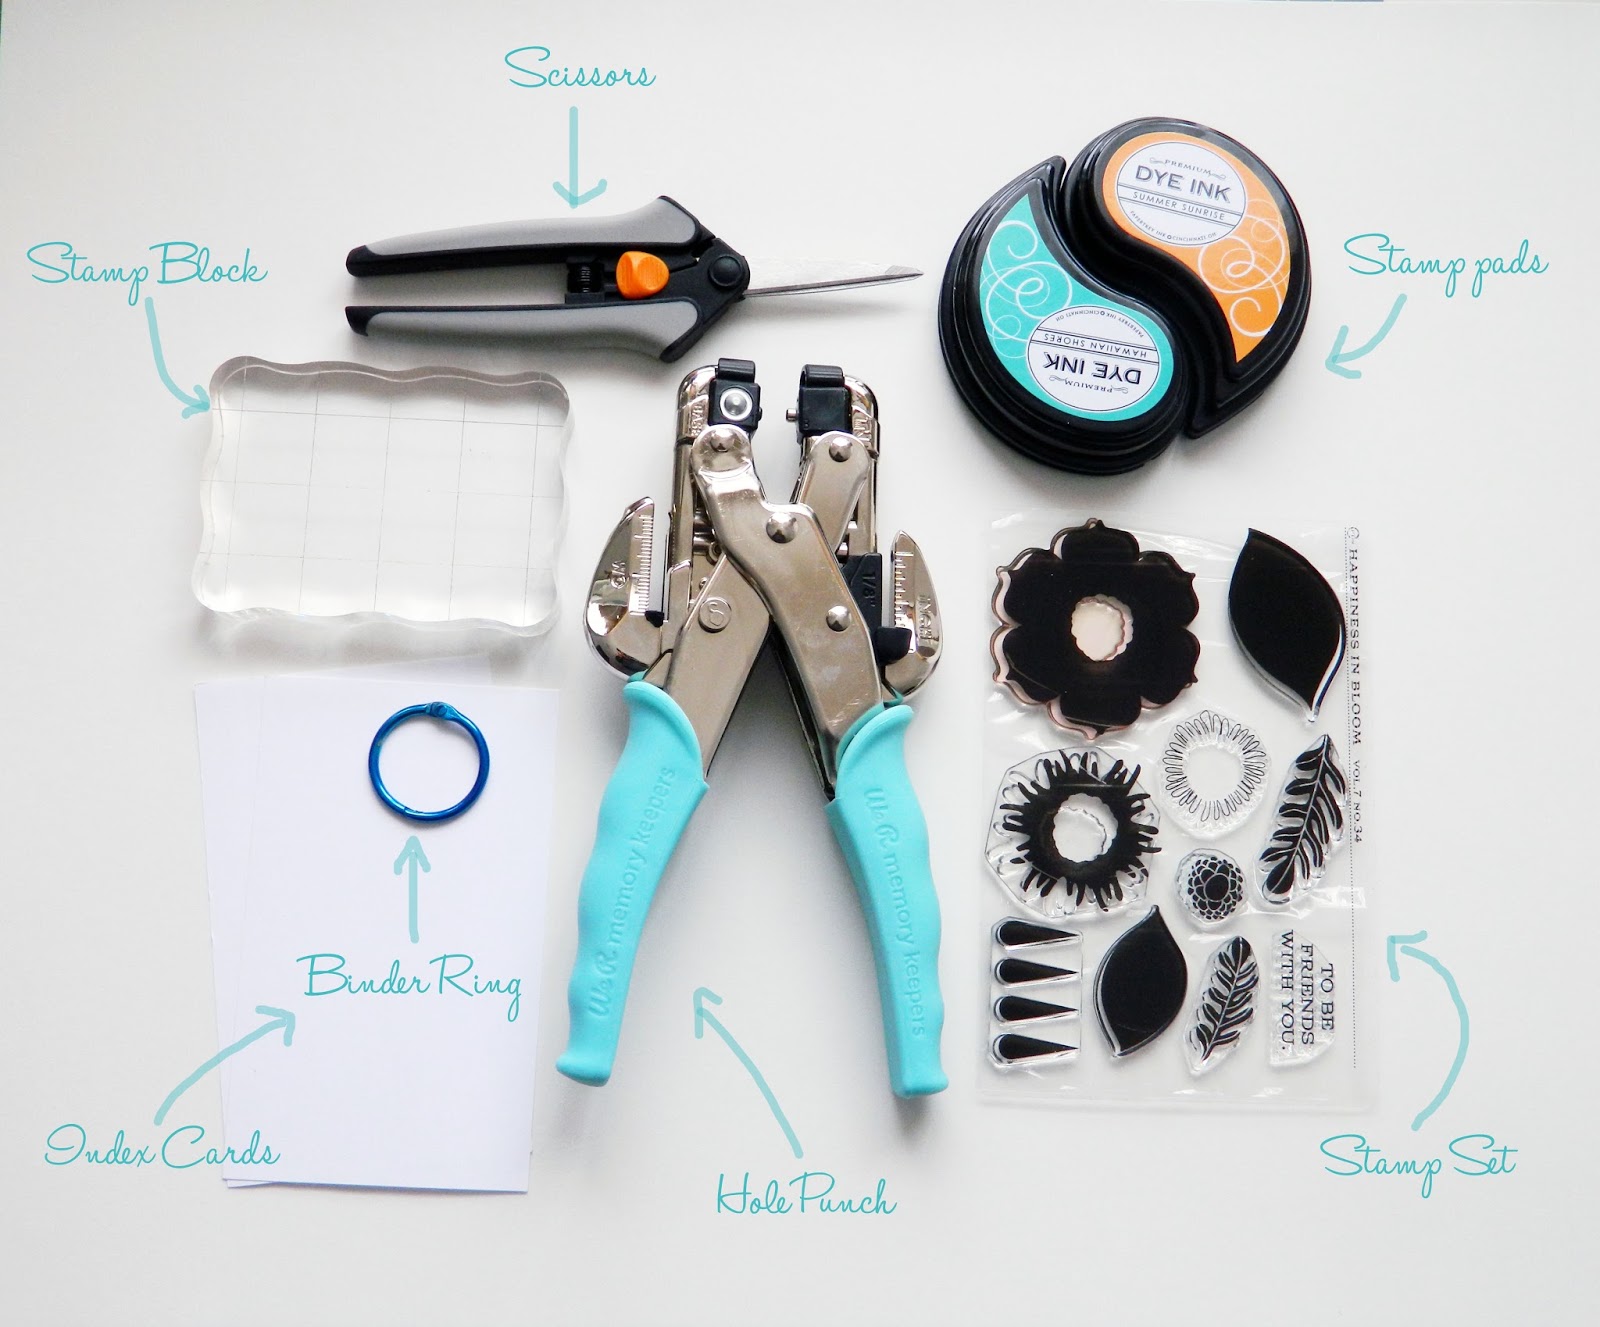
 Step 1. Gather all the supplies. The supplies that we are gonna need are listed below.
1. Hole Punch
2. Binder ring
3. Pen/ label maker
4. Scissors
5. Stamp block
6. A stamp of your choice
7. Stamp pads, which you want to add to the swatch.
8. Index cards / Card stock - White


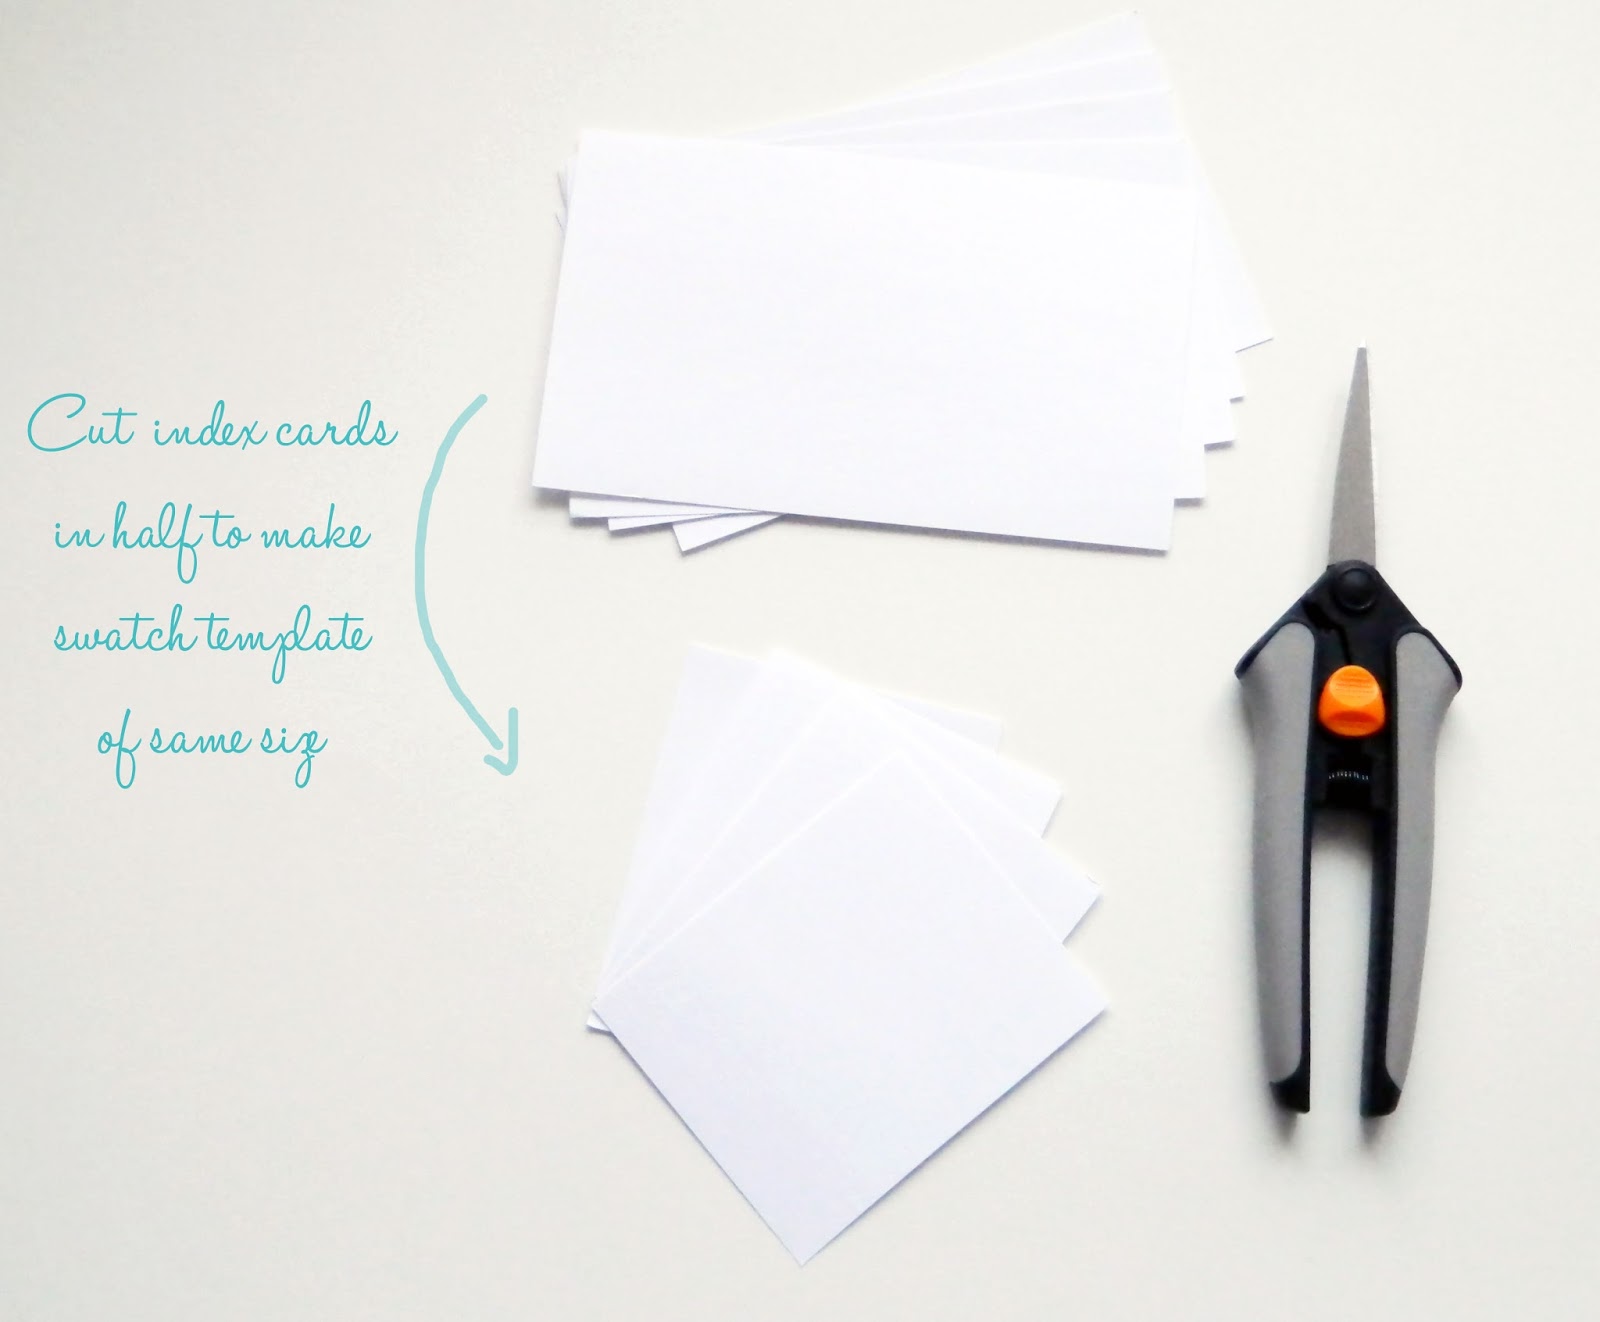
Step 2. Cut Index cards into half, to get uniform sized swatch papers. If you are using a card stock here, make sure that you are cutting all the swatches of same size. A white colour card stock or index card must be used, for obvious reasons :-)


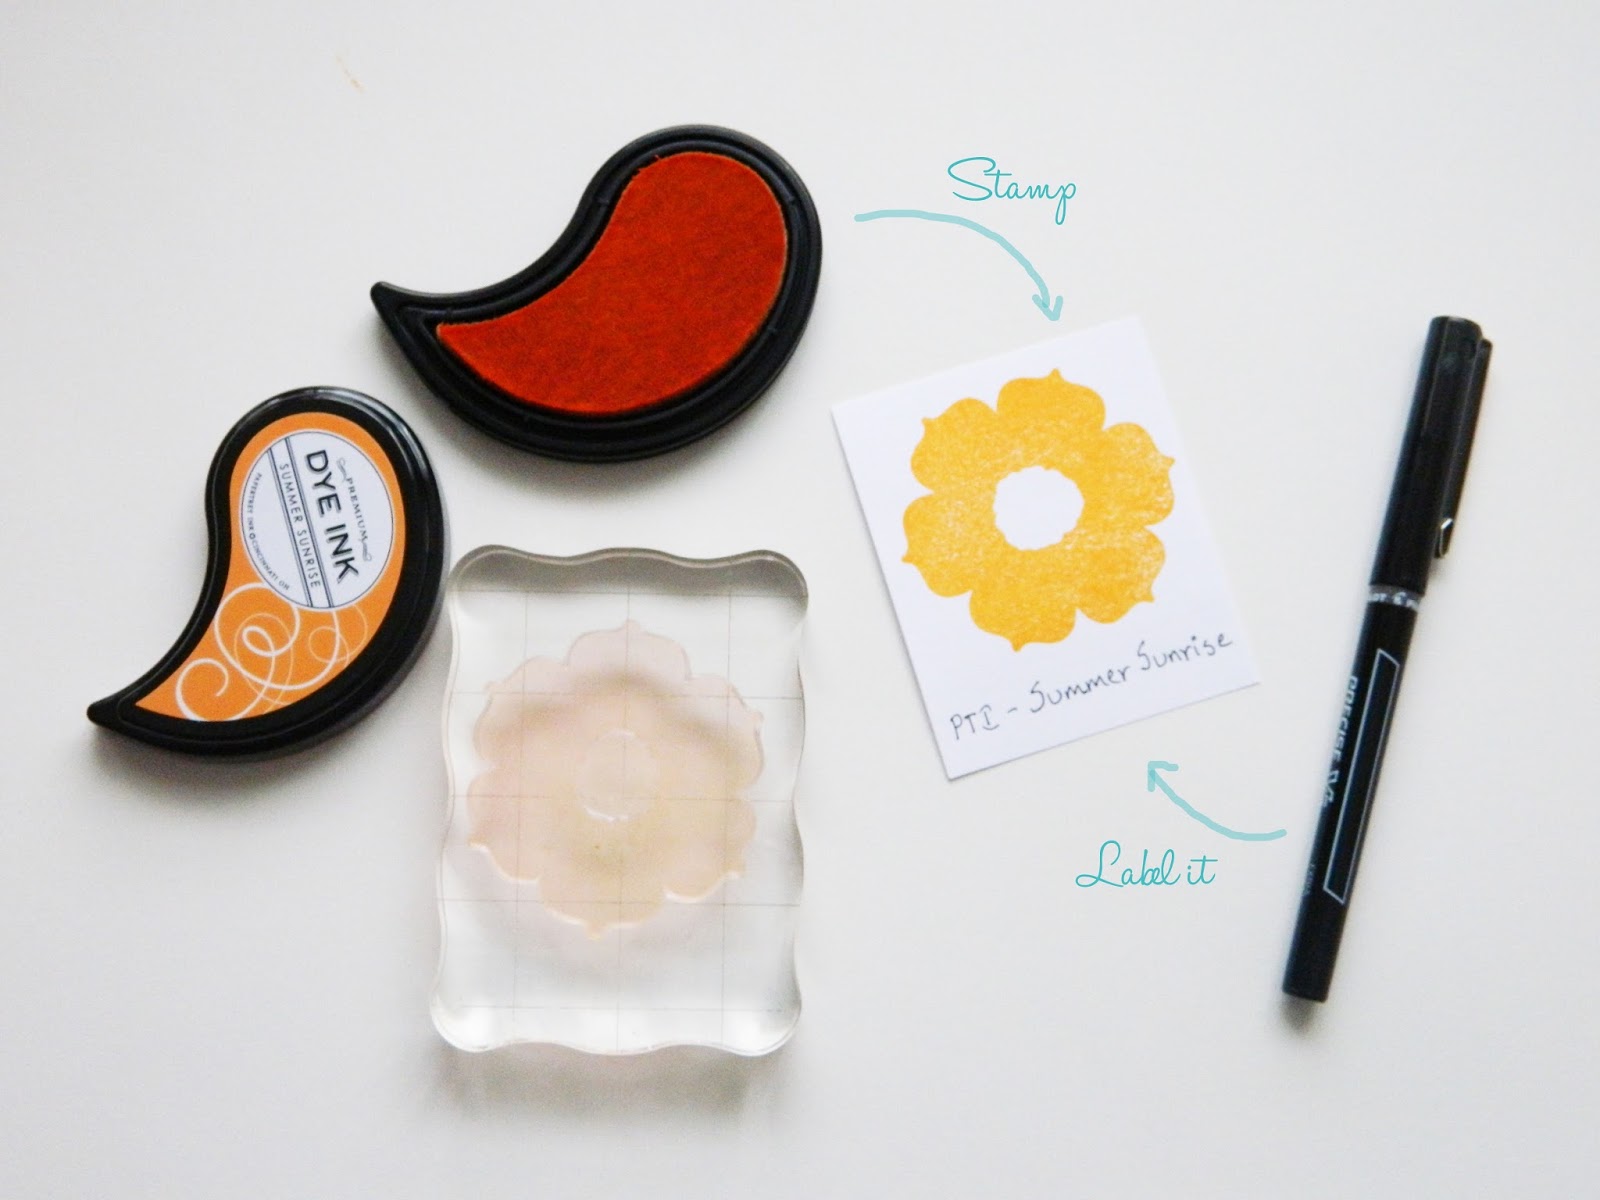
Step 3. Stamp each colour on to a single leaf of swatch paper. Don't forget to label the make and Colour Name of that stamp pad on the swatch.


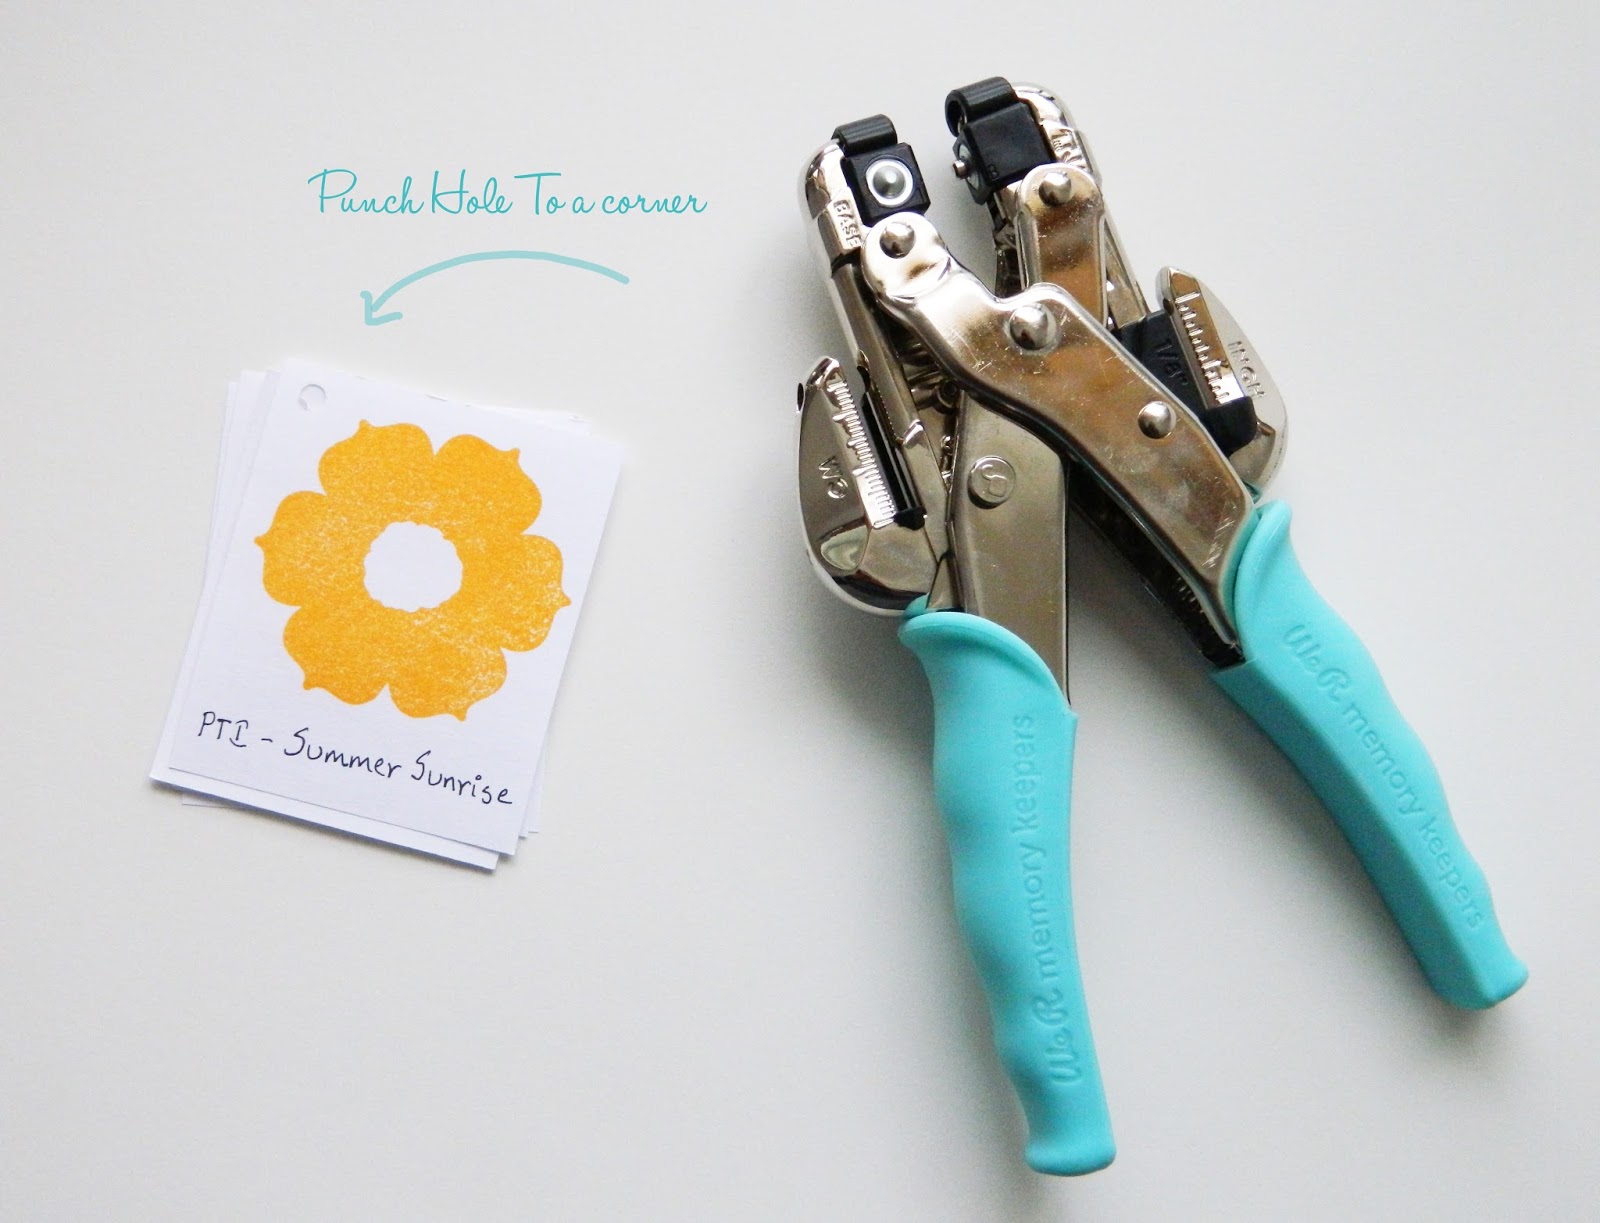
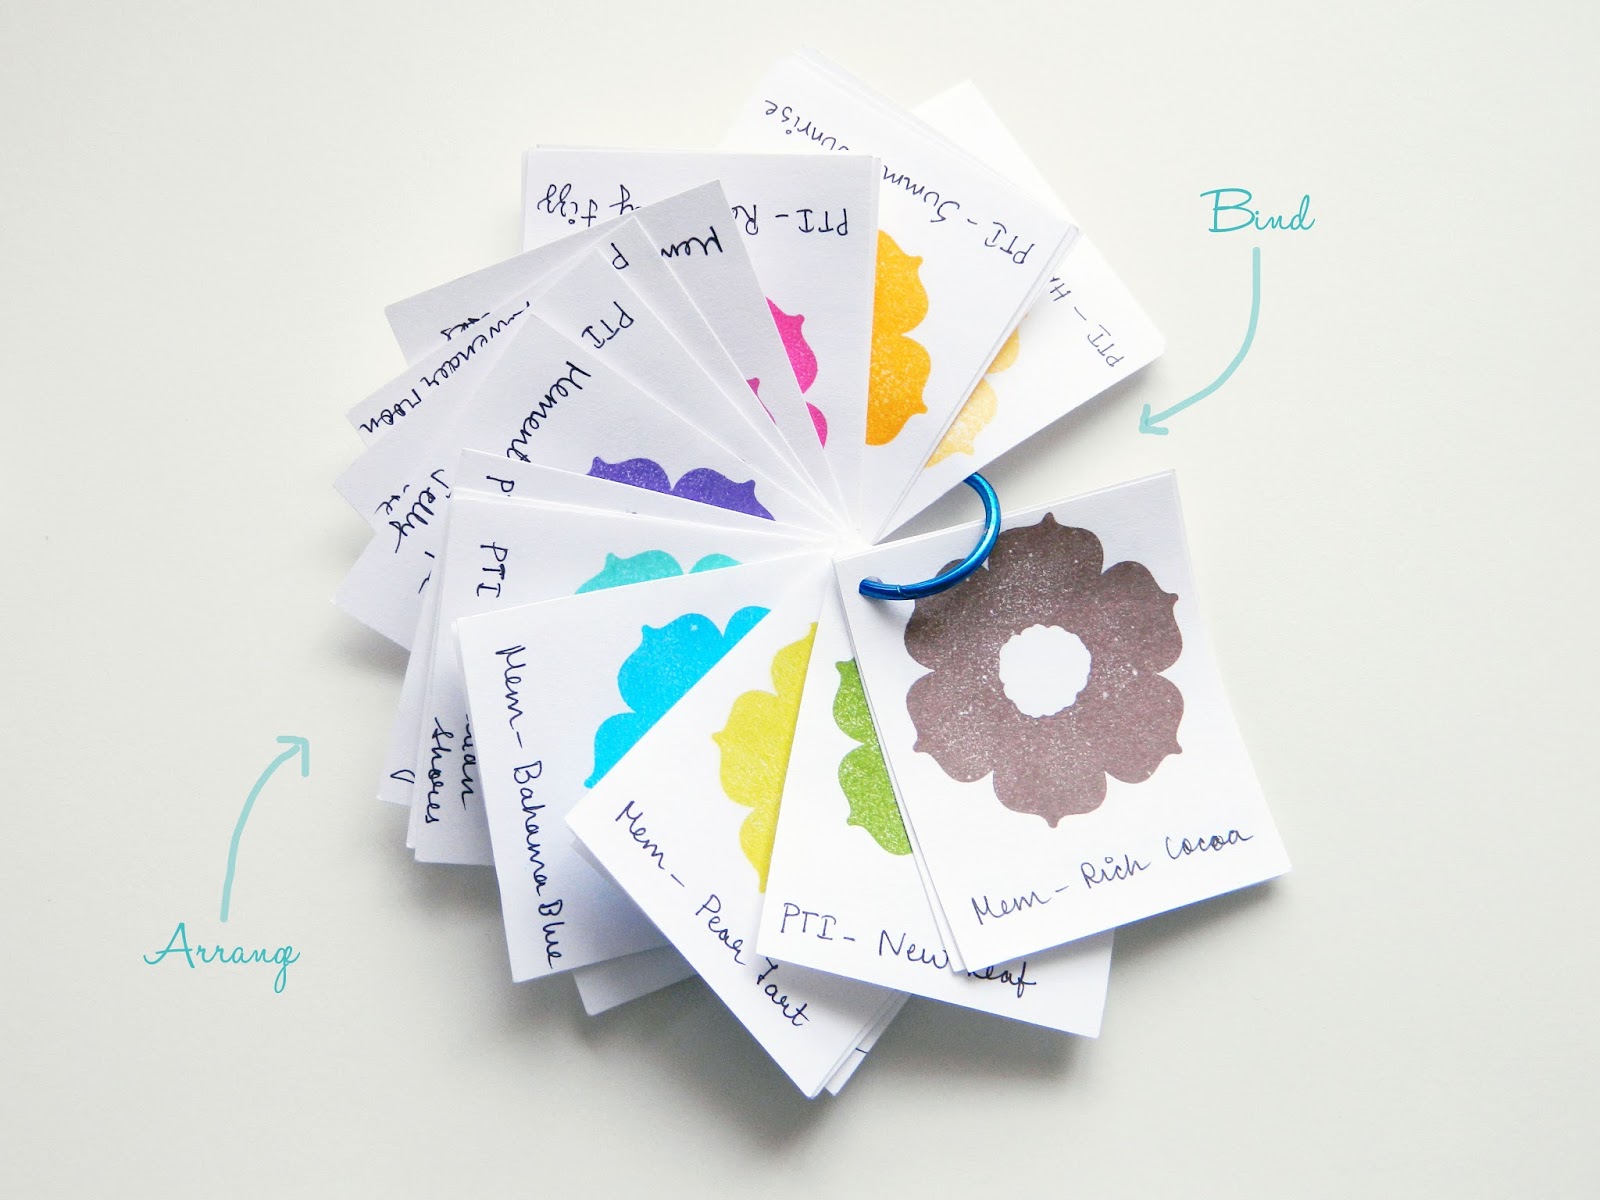
 Step 4. Once all the swatches are ready, then punch holes to a corner of the swatches in batches,


Step 5. Arrange all the swatches colour wise / make wise, as per your interest. Slip through the binder ring to secure them all in place together.


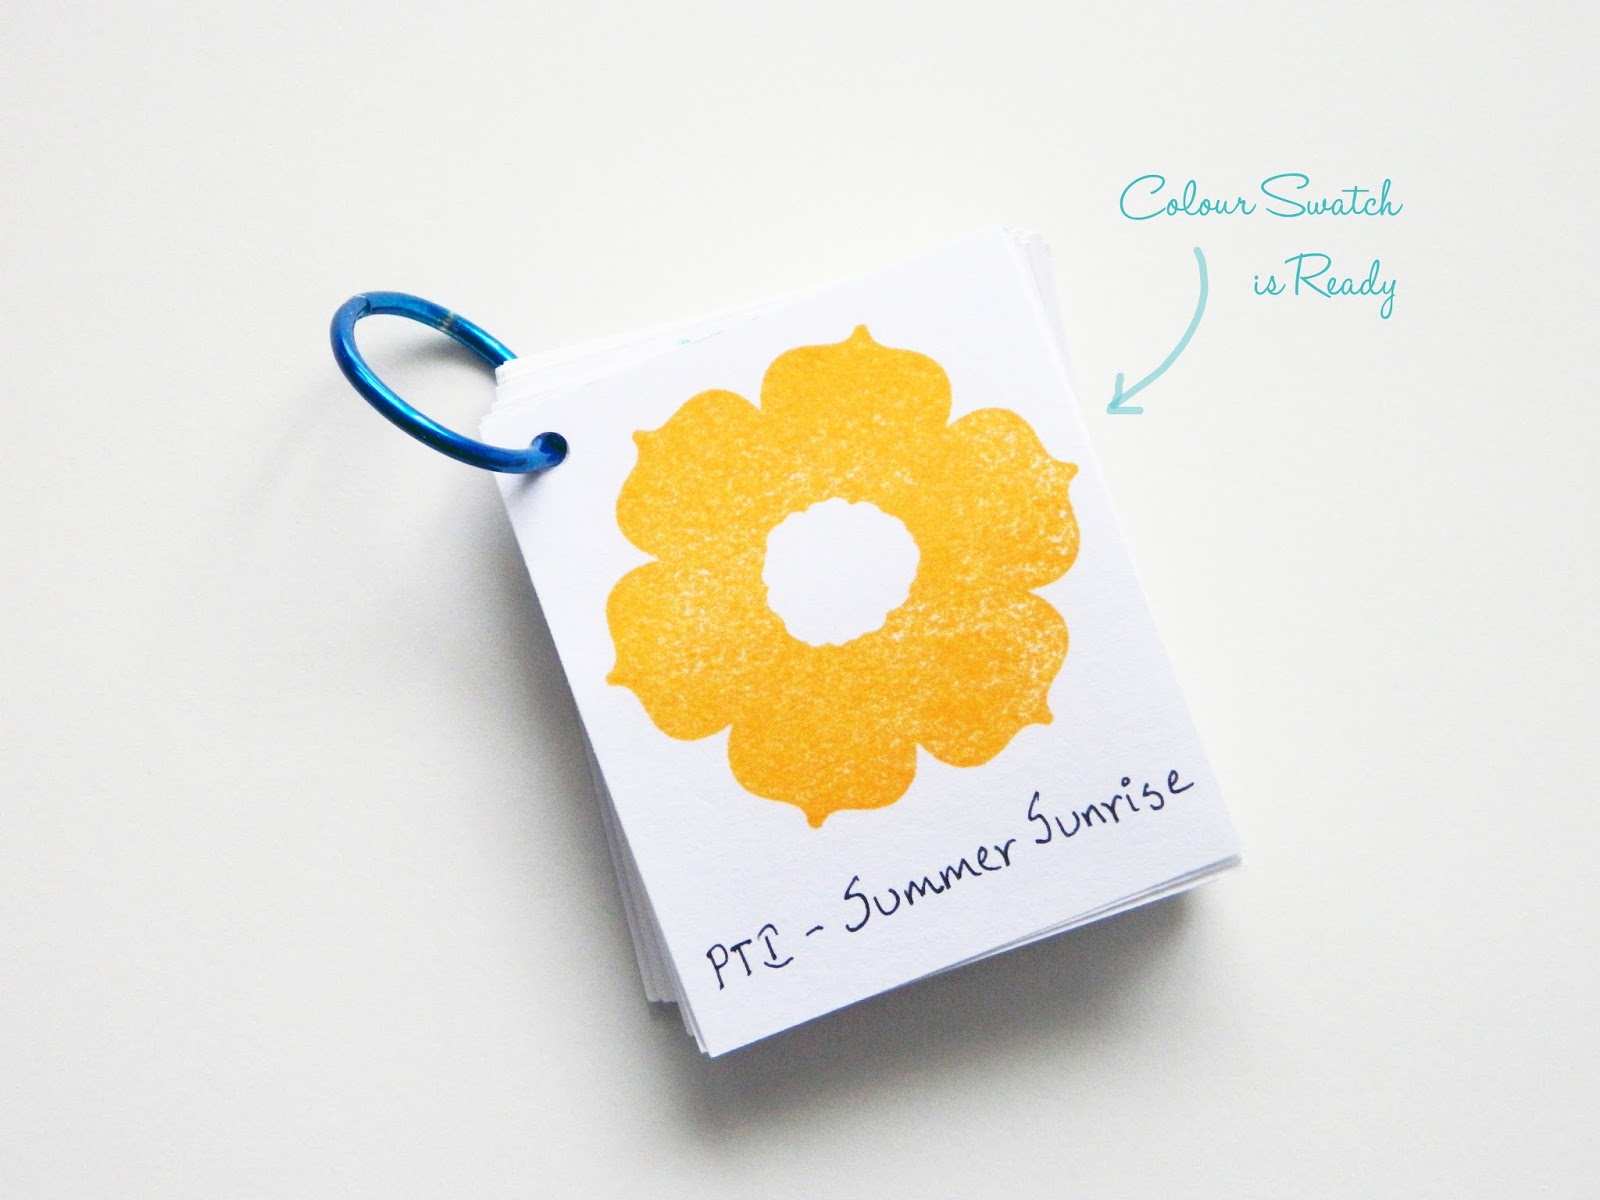
The handy colour swatch is ready-to-use !


Tip-  Whenever you buy a new stamp pad, create a swatch and slip it through the binder ring into appropriate position. So easy to maintain!

Thanks for stopping by
Ta- Ta.
post signature

January 2, 2015

Peacock With Felt. - CFC # 135

Hi all. Happy New Year. Hope you had a blast on New Year's Eve. Cas-ual Fridays is back with a challenge after a break, today. Finally...right ? :-)

This first challenge for the year, requires you to make a card using felt and sequins. Below is my take on the challenge.

I had used various coloured felts, for making the body of the peacock, which I had die cut using Loving Blooms Fri-Dies. I have used sequins to add interest to the peacock. I have hand cut the body of the peacock and used twine to make the legs.  I had done some white embossing and mist to form the back ground, on a water colour paper. For the sentiment I have used the Calm and Gentle stamp set.


Stamps and Dies used.

Click on the challenge graphic below to join the fun.


Hope you liked my card. Your opinions are most welcome. 
Thanks for stopping by.
post signature